Colorado Springs Ceiling Leak Water Damage
A stain spreading overhead deserves attention above the painted surface. Colorado Springs ceiling leak cleanup examines the source space, unstable finishes and water that may have reached nearby walls or floor coverings.
(888) 532-8620Discuss the wet ceiling area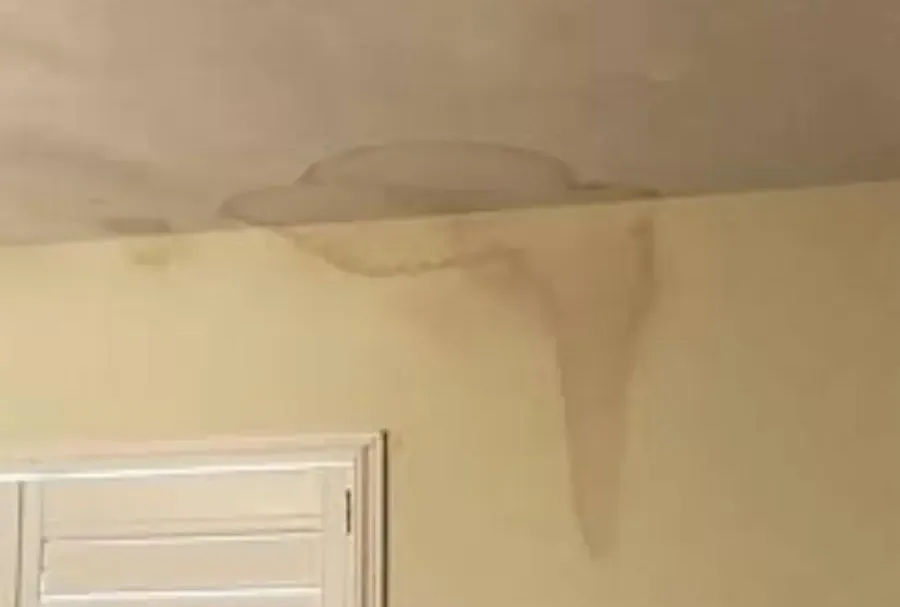
First steps for ceiling leak water damage
- Clear the area underneath
Occupants should remain outside the footprint of sagging, cracking or actively dripping ceiling material. Furniture movement should wait if reaching it requires standing beneath unstable finishes.
- Avoid wet electrical fixtures
Light fittings and nearby powered devices need assessment when water contacts them. Equipment setup should use a safe electrical arrangement established away from the affected components.
- Note when dripping changes
A record of rainfall, fixture use or continued staining can help the source investigation. Observations should be made from a safe position outside the damaged area.
- Retain access for inspection
Ceiling patching should wait until the overhead space and wet layers are evaluated. Surface paint alone cannot resolve moisture remaining within the cavity above the room.
The room below a leak often shows damage after the cavity above it has already collected water. A brown ring, blistered coating or soft joint can mark the lowest release point rather than the source. Ceiling cleanup therefore needs more than a stain measurement. It needs a safe way to inspect the material carrying the water and the space that fed it.
What does ceiling leak water damage cost in Colorado Springs, CO?
Colorado Springs ceiling leak cleanup prices depend on overhead access, the condition of insulation and the spread into connected rooms. A assessed scope should identify protective setup, necessary removal and drying separately from the final ceiling finish.
- Limited overhead exposure
- Simple contents protection
- Localized moisture checks
- Cavity access work
- Wet insulation handling
- Exposed framing drying
- Broader overhead spread
- Multiple protected spaces
- Wall and floor checks
Water category, affected area, material class and delay before drying change the scope.
Source correction and reconstruction may require separate agreements. These planning ranges are not quotes. Compare the inputs in the water damage cost calculator.
How the ceiling leak water damage work progresses
The IICRC S500 drying standard ties equipment decisions to material measurements. The project record tracks the source, removal choices, daily conditions and the final moisture comparison.
- 01
Establish a protected work area
The ceiling condition and electrical concerns determine access. Contents beneath the damaged area are protected or relocated when that work can be performed safely.
- 02
Trace moisture above the finish
Inspection follows the stain into the overhead space and identifies the source repair needed. Wet insulation and framing are assessed beyond the visible ceiling mark.
- 03
Remove unstable affected layers
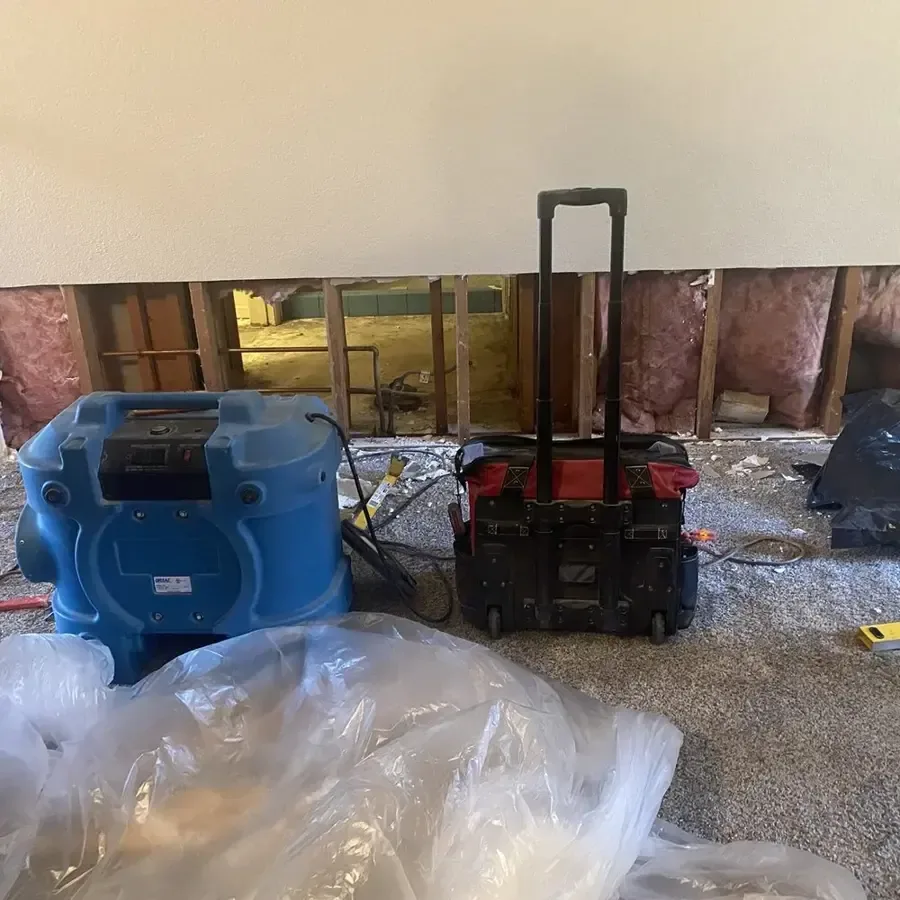
Materials that cannot remain are handled through a planned disposal route. The opening exposes retained structural surfaces and allows equipment to address moisture in the assembly.
- 04
Assess the ceiling cavity
Progress checks evaluate the exposed materials and connected wall areas. The final assessment explains readiness for reconstruction and any remaining source or drying issues.
Let the ceiling condition set the entry plan
At a North End property, a sagging section above furniture should be treated as an unstable work area. Occupants can stay outside the affected footprint while the ceiling and nearby electrical fixtures are assessed. Moving a container beneath a drip does not make it safe to stand below weakened plaster or wallboard.
- A bulging finish can hold water and may release material without further visible warning.
- Wet light fixtures require electrical attention before powered cleanup equipment is arranged nearby.
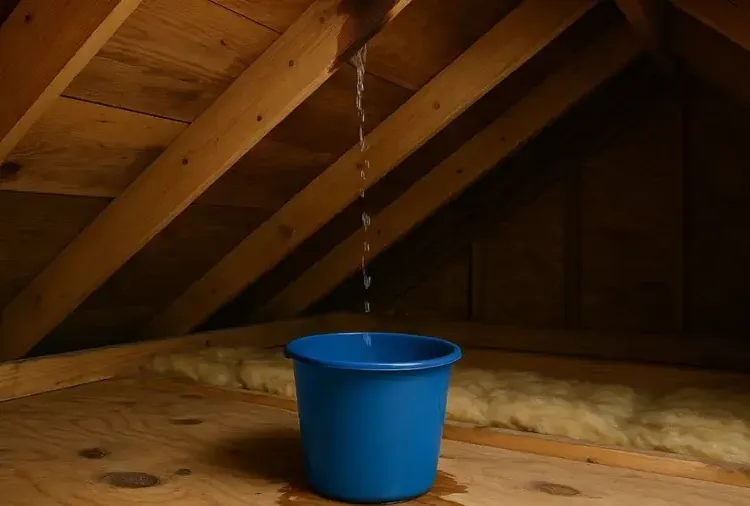
- Insulation above the surface may remain saturated after dripping slows or stops.
- Wall streaks and floor stains can indicate a second affected assembly beneath the ceiling.
Inspect the source space and the travel path
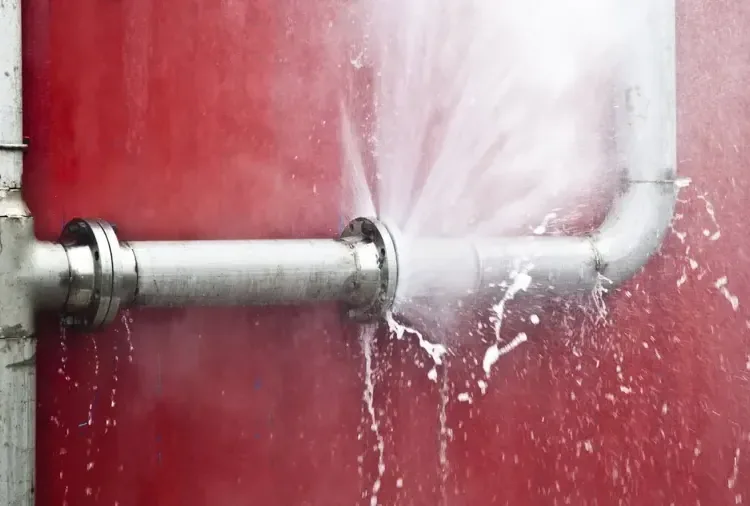
For a home in Stratton Meadows or East End, the investigation depends on what is actually above the room. Plumbing, another occupied space or the roof area may each lead to a different repair task. The restoration scope should identify where water entered the ceiling assembly, how far it spread and which materials need access. A clear record prevents the visible stain from becoming the only area considered for drying.
Selective opening is a controlled inspection and removal decision. It should account for falling material, furnishings below and the disposal route through the property. The opened area can then show whether water traveled along framing beyond the original mark.
Repair the ceiling after the assembly is ready
Once the source has been addressed, retained framing and other salvageable materials need a suitable drying arrangement. Moisture readings can be taken at accessible points while the condition of nearby walls and the floor below is assessed. Equipment should reach the exposed wet assembly without directing debris into occupied areas.
The closing discussion should separate drying from finish reconstruction. New insulation, replacement board and paint each depend on the condition of what remains behind them. If rainfall was the entry trigger, interior roof leak recovery can be coordinated with the ceiling work so the repaired surface is not exposed to continued water entry.
Ceiling leak water damage service area
Ceiling damage assessments for Ivywild, Cheyenne Canon and Skyway begin with overhead conditions at the property. A description of sagging, dripping and nearby fixtures helps organize safe access and the initial inspection.
The same service nearby: ceiling leak water damage in Fountain, Stratmoor, Manitou Springs.
Water damage restoration in Colorado Springs · every town covered
Ceiling Leak Water Damage questions in Colorado Springs, CO
Should a ceiling bulge be punctured?
A bulge can contain water and unstable material. Occupants should keep clear while the overhead condition is assessed and controlled removal is arranged.
Does a stain show the source location?
Water can travel along framing before appearing. Inspection above the mark helps locate the entry path and the full area of affected materials.
Can the stain simply be painted?
Painting should follow source repair and assessment of wet layers. A new coating cannot dry insulation or resolve moisture held behind the surface.
Why inspect the floor below?
Drips and falling wet material may affect floor coverings or furnishings. The lower surfaces need their own evaluation even when the main damage is overhead.
Will every ceiling panel need replacement?
The material condition and access needs determine removal. Retained sections must be evaluated for stability and moisture before they become part of the repaired ceiling.
What if the dripping has stopped?
Stored moisture can remain after discharge ends. The cavity should still be checked so drying and repair decisions account for material above the visible stain.
Look beyond the paint before closing the ceiling
The recovery plan should include the wet cavity, surrounding finishes and the source repair that prevents continued entry into the room.